

Hey Y'all!
I am not a crafty person, but I decided to try and make something this past weekend. And it turned out great! Point of story; if I can do it, you can do it. Trust me. And so you CAN do it, I trial and erred and looked up online and complied this beautiful DIY tutorial for you. You're welcome. XD
First off, you need some canvases.

I got a 4-pack of pretty small squares, two bigger rectangles, and two big rectangles. What size you use isn't really important. Whatever you want.
I also got a big huge packet of scrapbook paper. I'm talking like, 120 sheets or something. But if you or your mom or someone scrapbooked, just try and find a couple old sheet laying around.


You will need a black sponge brush, like so:

Scissors:

And some Mod Podge. Which, we didn't have any of and to be honest I didn't even know what it was. But I found out via internet that if you mix equal parts of water and Elmer's glue in a jar and shake it all up, it works just as well as Mod Podge!
 |
| Yes, that is a old salsa jar. It's called upcycling. XD |

1} First step in every craft is, of course, to cover your workspace with newspaper.

2} Line the scrapbook paper up to the edges of your canvas and use the scissors to cut the shape of the canvas out. Make sure it lines up; although it is more than fine to leave a little hanging over and just trim the edges later.


3} Remove the paper and use your sponge to apply several layers of Mod Podge to the canvas.


4} Line one corner and edge of the paper, then smooth from the middle, making sure the paper is flat, smooth, and lined up. This is the trickiest part.


Afterwards you may have to go back and add a little more Mod Podge to the edges to make the corners stick down. (You can see how the bottom right corner is sticking up a little.)
5} Let your canvas dry, but every once in a while go back and smooth them out again; bubbles manage to sneak in. Meanwhile...
Take your printed out words and cut them out, close as you can.


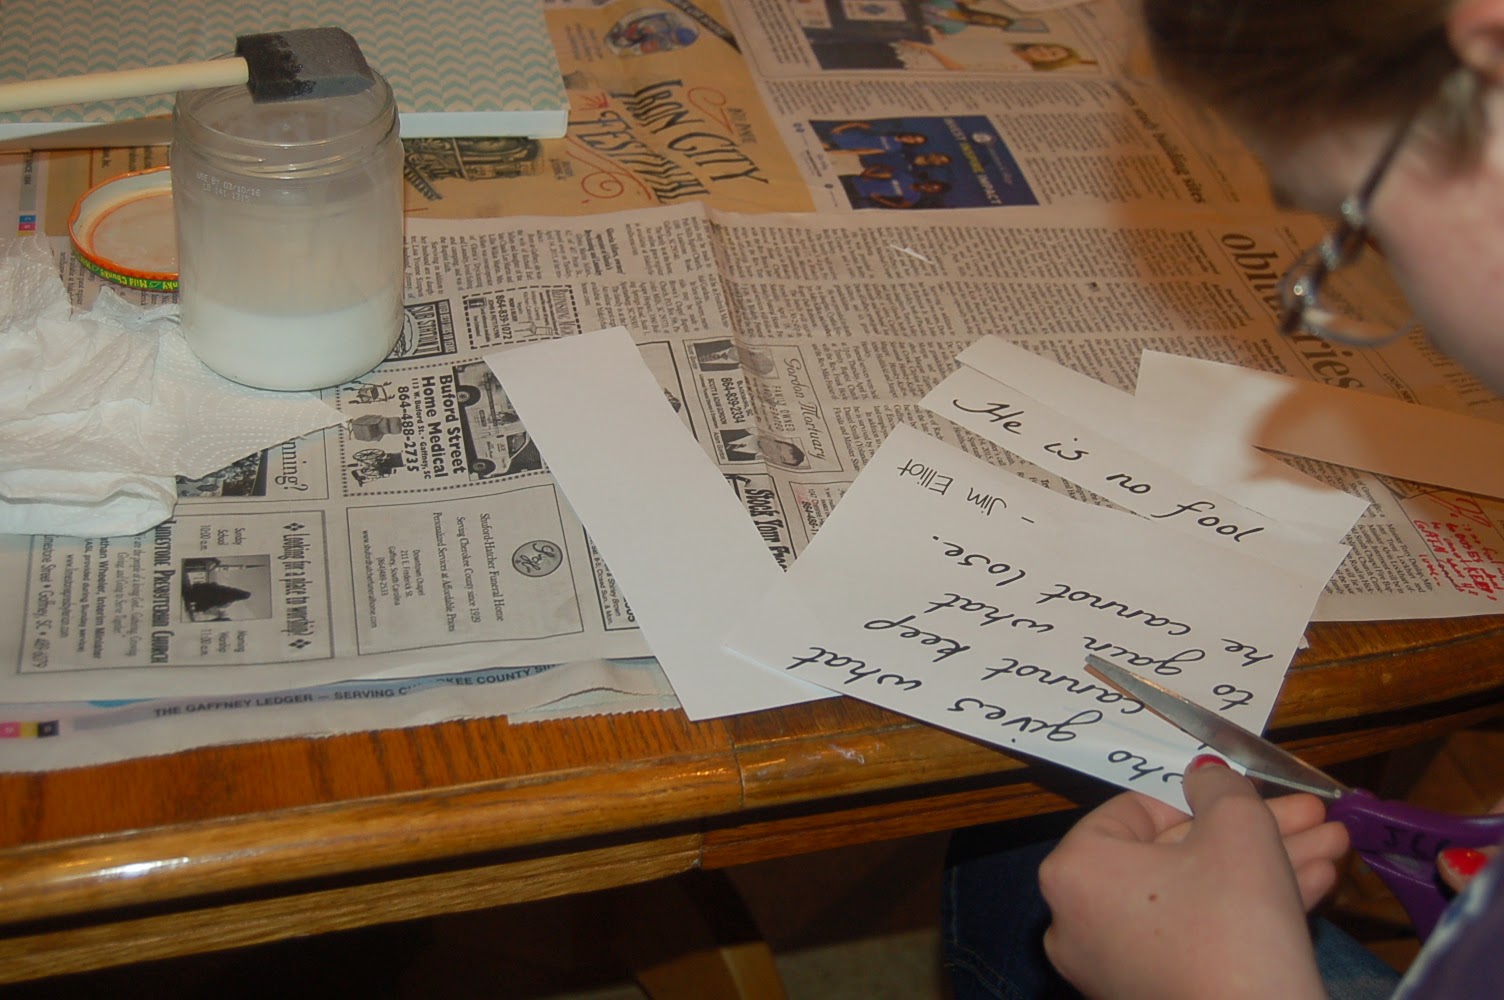

6} After the canvas has dried lay the cut out words on it to get a feel for where you want them to be:


7} Take the words off one at a time, using the sponge to cover the backs of them in Mod Podge, and to put Mod Podge on the canvas where the words will go.


Then wipe Mod Podge over the top to seal them in.
8} Smooth all the words out, and let dry!


And there you have it! Isn't that beautiful? I loved how these came out; I did about 6 of them. What I love about doing these homemade is that you can chose your own background, text, font, size, etc, and it is cheaper than buying them! Plus, there is an incredible amount of satisfaction in knowing you made something yourself.
Did you like this project?
Would you like to see more tutorials or DIYs?
~Jess
Ohh!!! These are awesome!!! Excuse me while I go and spend my whole day making these. ;D
ReplyDeleteThanks for sharing Jess!!!
-M-
I thought about you while I made them; I knew you would like them! =D If you do you will have to send me pictures, kay kay?
DeleteLove you!!
~J
Aww, you know me so well. =D I hope to make one later today, so I will send you pictures if I can!! =D
DeleteLove ya!!
How cool!!!! I want to try these! :D Thank you for the tutorial, Jessica!
ReplyDelete-Micaiah-
I hope you do!! You're very welcome, Micaiah! Thank you! =)
DeleteI am, actually - this week for my mom on Mother's Day! :D I'm looking forward to doing it.
DeleteI love this idea, I'll have to keep it in mind :)
ReplyDeleteThank you! =) <3
DeleteSuch a cute idea! I'll have to remember this for one of my DIY days. I'm the kind of person who writes down all the crafts she sees and wants to do, then does them all at once in one day. :D
ReplyDelete--Rebecca at The Silver Flute
Thank you! That's awesome. I wouldn't think of myself like that, but I guess I am, since I just sat down and all these in one day. haha =D If you do try it, send me pictures! =)
DeleteThis is so cool, I'll have to try it out one day! Especially loving the quotes. :)
ReplyDeleteWow, you did a great job! I love making DIY crafts, too. I also LOVE to make homemade all- natural body care products.
ReplyDelete*raises hand in air* I have mod podge!!! LOL! :D That looks so crazy awesome, if you have mod podge you should google 'paper beads' I think you'd like to make them-I love to! Super addicting though. ;) WHOA! How much was all that scrapbook paper?? lol..I'm a super crafter.. ;) lol
ReplyDeleteThat looks awesome Jessica! After I read this I was like I have to do this. Then my mom said she wanted me to make my dad a special craft for their anniversary. I got one for me too! My lyric is Let me walk upon the water wherever you will call me. Thanks for doing this! It's simple but SO CUTE! I did it a little different though by painting it instead of printing it, but everybody has a different way to do it! Love ya Jessica!
ReplyDelete~Ellie;P